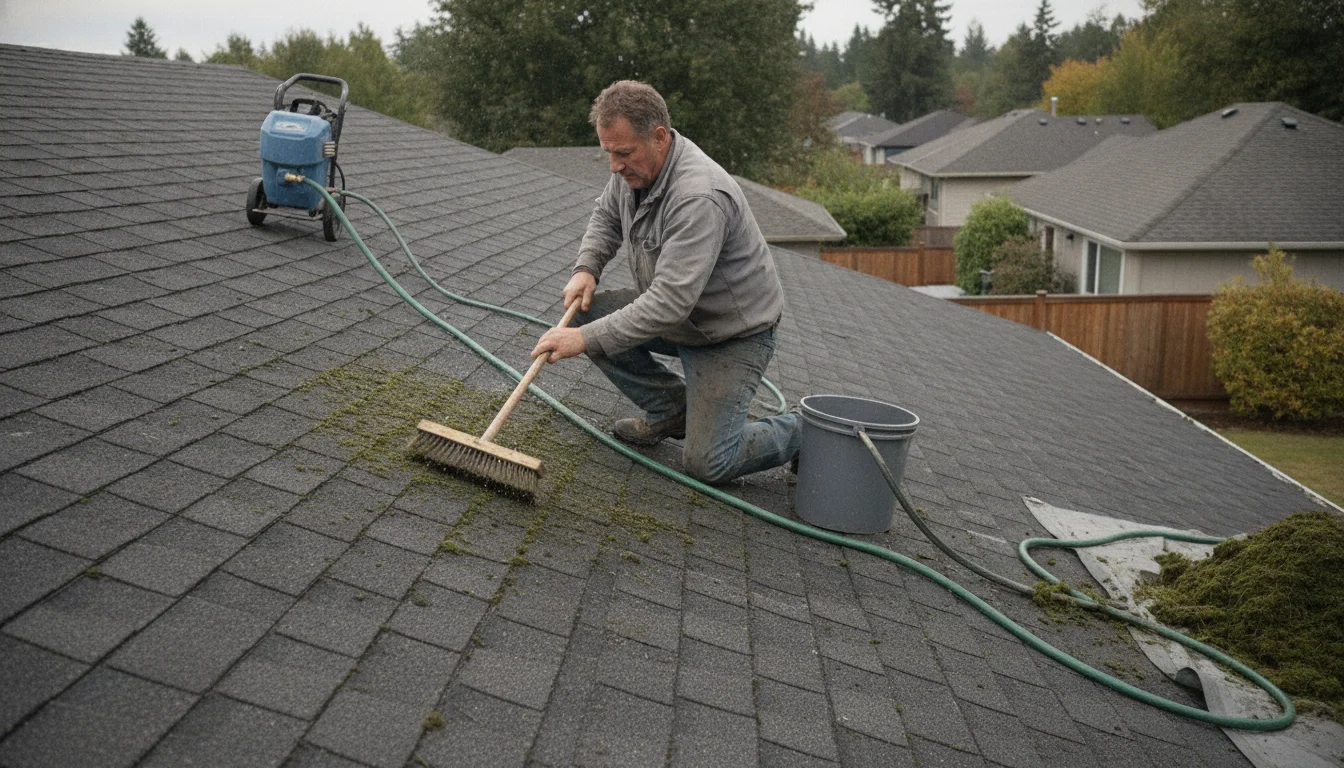
A sunny weekend can reveal every scuff and green tint on deck boards and rails. If you’re wondering how to pressure wash a deck without harming the wood, stain, or sealant, here’s the direct answer: start with deck-safe cleaners (soft washing) to loosen grime, then rinse with the lowest practical pressure using a wide-angle tip, steady distance, and long, even passes with the grain. Test in an inconspicuous spot first, keep people and pets clear, and plan for brightening, drying, and light sanding before any new finish. With patience and the right steps, you can clean safely and effectively in Orange Park.
Pressure Washing Orange Park helps homeowners across the Orange Park area keep outdoor spaces clean and ready for Florida sunshine. This guide lays out the full process so you can work confidently on your own or know what to expect from a pro. It also notes when to call Deck Cleaning Services in Orange Park, FL if conditions call for expert help.
Key Takeaways (Quick Start)
- Begin with cleaners and low pressure; rinse with a 25° or 40° tip while keeping a steady 8–12 inch distance.
- Work with the grain in overlapping passes, feathering edges to prevent stripes and halos.
- Pre-wet wood, protect landscaping, and test a small area before committing.
- After alkaline cleaners, brighten to balance pH, let the deck dry thoroughly, and sand light fuzz before finishing.
- Revisit light cleaning each season and treat mildew early to extend results.
Table of Contents
- 1. Understand the basics and risks before you start
- 2. Inspect your deck: material, age, condition, and existing finish
- 3. Select the right tools, tips, and cleaners for the job
- 4. Prep the space for safety and results
- 5. Step-by-step washing technique that protects wood, stain, and sealant
- 6. Post-wash care: neutralize, dry, and plan finishing
- 7. Troubleshooting and long-term maintenance
- Frequently Asked Questions
- Key takeaways
- Conclusion
1. Understand the basics and risks before you start
Pressure washing relies on pressurized water to lift soil, while soft washing uses low pressure with detergents to break down grime and organic growth. On wood and many composites, start with soft washing steps to let chemistry do the work, then rinse at safe pressure. This two-part approach reduces the chance of fiber damage and keeps finishes intact.
PSI (pounds per square inch) measures force; GPM (gallons per minute) measures water flow. Higher flow can move debris effectively at a lower force, which is friendlier to wood. Excessive PSI can etch lines, raise grain, or gouge softer spring wood bands. On composites, too much heat or pressure can mar the cap layer and leave visible wand marks.
Aim for the lowest PSI that still cleans. On sound wood, many pros start in a gentle range and adjust slowly. Use a wide-angle nozzle to spread impact and maintain a steady distance so the stream never drills a groove. The goal is to rinse loosened dirt and cleaner—not carve the surface.
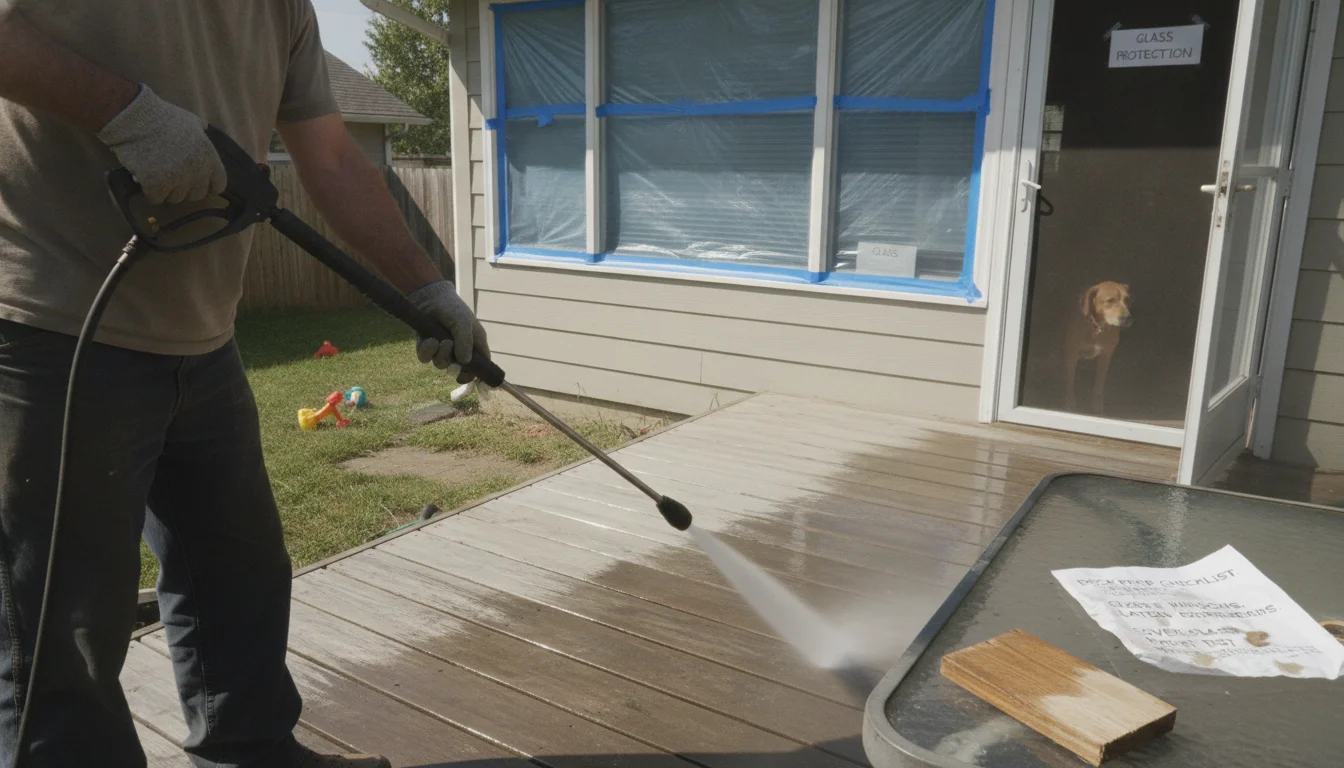
Work with the grain in smooth, even passes. Avoid tight circles that cause halos. Keep people and pets away from the area. Wear eye and hearing protection and handle the wand carefully; pressure washer spray can injure skin. For general safety tips, see the Consumer Product Safety Commission’s guidance on pressure washer safety (CPSC).
Pressure washing vs. soft washing: what each method does
Soft washing depends on detergent dwell time and a gentle rinse—ideal for mildew and algae. Pressure washing adds mechanical force to remove stubborn soil after cleaners have loosened it. Used together, they clean more safely than relying on pressure alone.
Safe ranges for PSI, GPM, and nozzle angles on wood and composite
Use more GPM when possible to flush debris at lower PSI. Choose a wide-angle nozzle, such as 25° or 40°, to diffuse the stream. Keep the wand 8–12 inches off the surface and adjust only as needed. On composites, lean gentler and avoid hot water unless the manufacturer explicitly allows it.
2. Inspect your deck: material, age, condition, and existing finish
No two decks are the same. Aged cedar is soft, pressure-treated pine is denser but still has soft spring wood, and composite boards vary by brand and cap thickness. A quick inspection helps set safe expectations and reveals whether cleaning alone will meet your goal or if sanding and refinishing should follow.
Check under stairs or rails for labels that reveal species or the composite brand. If unknown, make a small test in a hidden spot and watch how the fibers react. If grain lifts easily, turn pressure down and lean more on cleaners. If water beads strongly, an intact sealer may be limiting soil removal until it wears or is stripped.
Tighten loose fasteners. Screws that back out can let boards vibrate and splinter. Reset popped nails. Probe suspiciously soft areas with a small tool; if wood crumbles, that’s rot and needs repair rather than cleaning.
Scan the finish. Failing stain looks patchy, chalky, or flaking. Cleaners will not reattach a failing coating. If you plan to re-stain soon, cleaning plus brightening and selective sanding may be required. With composite, inspect the cap layer—deep scratches or glossy swirls call for extra care.
Identify wood species and composite types to set safe expectations
Cedar and redwood are soft and demand gentle passes. Pressure-treated pine tolerates a bit more force but still needs caution. Dense hardwoods such as ipe or merbau resist wear yet can streak or burnish if handled aggressively. Capped composites need cool water and wide-angle tips; uncapped composites can hold stains deeper, making the cleaner choice even more important.
Spot failing stain, sealant, rot, or fastener issues that affect cleaning
Peeling stain often needs a stripper before any rinse. Gray, oxidized wood benefits from a brightener after cleaning. Address rot first—cleaning won’t fix it. Rusted fasteners can leave stains that call for a targeted cleaner pass. Secure loose boards before you spray for both safety and better results.
3. Select the right tools, tips, and cleaners for the job
A pressure washer with steady flow helps you clean at lower PSI. Gas units commonly deliver higher GPM; electric units are quieter and convenient for small decks. Pair the machine with quality hoses and a responsive trigger you can feather. A longer wand helps keep your angle steady for consistent results.
Nozzles matter. Color-coded tips indicate spray angles. Wider angles spread energy to protect wood. A 25° tip suits many tasks; a 40° tip is gentler and preferred for railings and older boards. Avoid pin-point (0°) tips on wood. Rotary nozzles can be risky because they focus force—use only if you’re truly experienced.
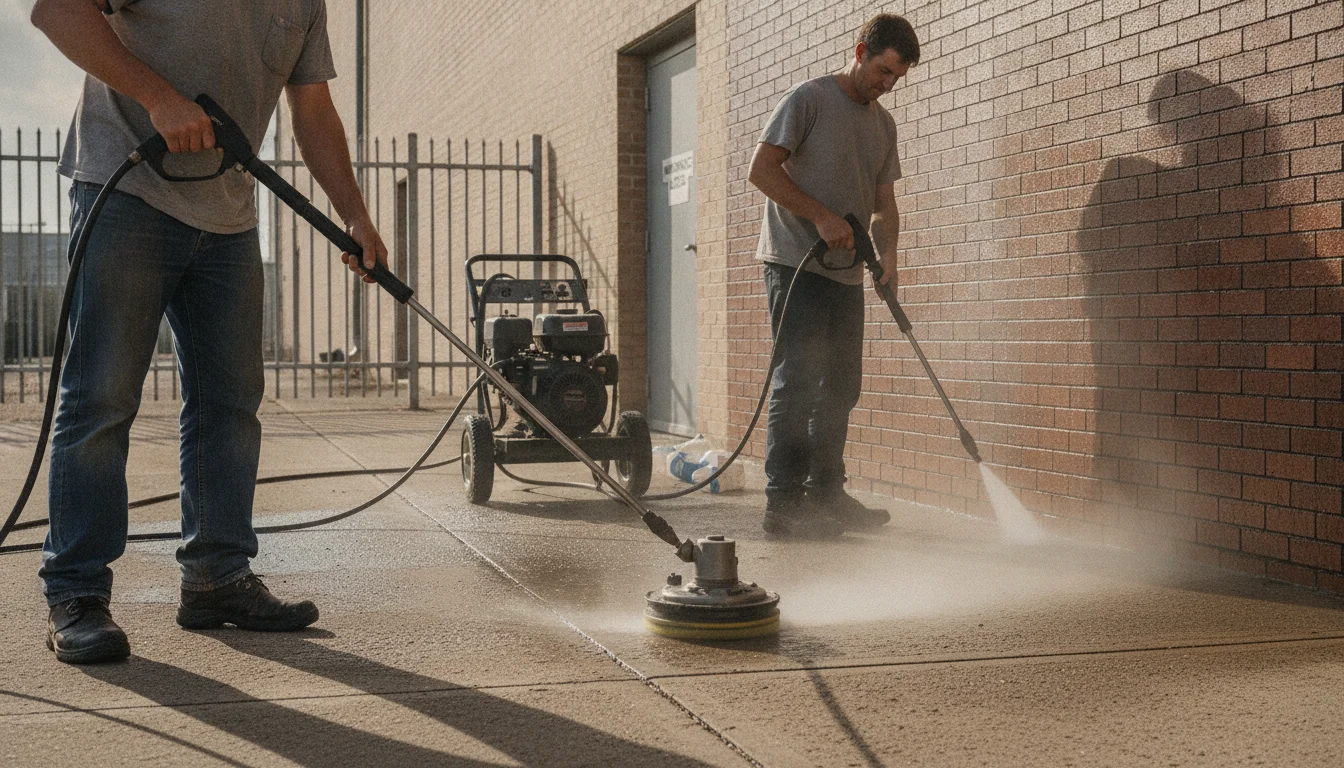
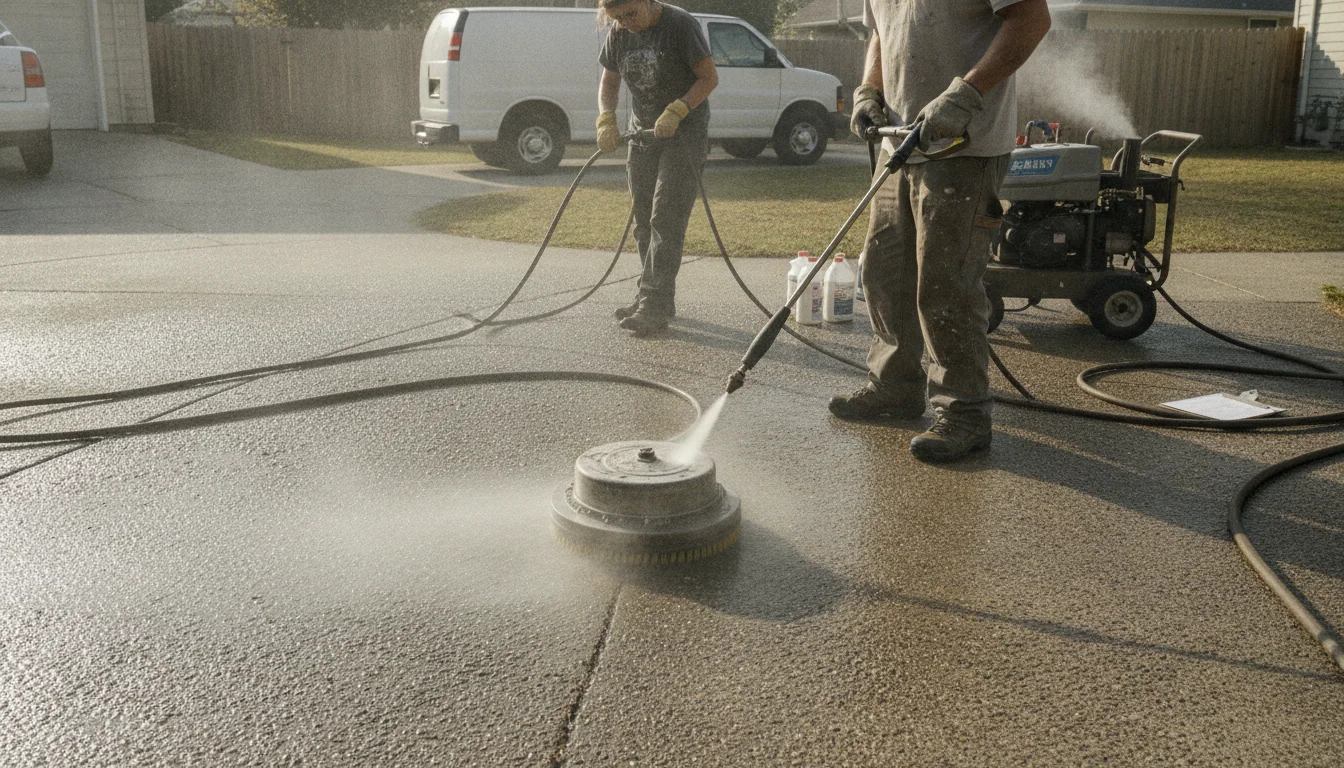
Surface cleaners speed up work on large flats by holding a fixed distance from the wood. Choose one rated for wood and keep it moving. For tight spaces, a short lance or angled wand reaches stair risers without blasting. A foam cannon can help distribute detergents evenly.
Cleaners do the heavy lifting. Use a deck-safe detergent for dirt and everyday soil. For mildew and algae, a cleaner with sodium hypochlorite or another labeled biocide can help when used as directed. After an alkaline cleaner or on gray, weathered boards, an oxalic or citric acid brightener can restore tone and balance pH.
Always read product labels. Never mix chemicals without directions. Keep runoff out of storm drains when you can; the EPA explains how managing urban runoff protects local water (EPA). Rinse plants before and after cleaner use.
Pressure washer setup, nozzles, surface cleaners, and accessories
Set up on level ground. Use a supply hose with good flow and bleed air from the line before starting. Keep spare O-rings and a tip-cleaning tool nearby. Wear eye, glove, and hearing protection; see NIOSH guidance on noise safety for longer sessions (NIOSH).
Detergents, mildew removers, and brighteners—when and how to use them
Apply detergent from bottom to top to avoid streaks. Let it dwell per label and keep it wet—don’t let it dry on the surface. Rinse from top to bottom. Only apply brightener after the main rinse, then rinse well again. Neutral pH supports better stain adhesion later.
4. Prep the space for safety and results
A small amount of prep prevents big problems. Clear furniture and planters. Cover outlets and fixtures. Move grills out of the spray path. Check that GFCI outlets trip and reset. Tape plastic over door thresholds if the deck meets a doorway. Shield plants with breathable covers and pre-soak them with clean water so they don’t absorb cleaner.
Sweep debris from gaps. Remove big leaves and grit. Pick up toys and tools. Hang mats to dry later. Use a plastic scraper to lift compacted debris along board edges if needed so rinse water can flow freely.
Make a discreet test area. Start in a hidden corner or stair. Set pressure low, choose a wide nozzle, and try a single pass while watching the fibers. If the grain stands up or lines appear, reduce pressure and work with cleaners more. If soil lifts cleanly, continue and adjust only in small increments.
Pre-wet the deck with clean water. This limits rapid absorption of cleaner and evens out dwell time to prevent spotting. Wet railings and posts, and pre-wet nearby siding and windows so any splash is easy to rinse right away.
Protect landscaping, furniture, outlets, and nearby surfaces
Use breathable fabric on delicate plants, avoiding heat buildup under plastic in strong sun. Mask lower panes of glass to prevent hard water dots. Close windows and latch doors. Keep pets inside during cleaning.
Patch test, set pressure, and pre-wet strategy to prevent spotting
A test confirms your safe operating zone. Pre-wetting evens absorbency. Keep cleaner moving and wet, then rinse in manageable sections to avoid lap lines where one area dries while the next stays damp.
5. Step-by-step washing technique that protects wood, stain, and sealant
These steps outline how to pressure wash a deck while preserving wood, stain, and sealant.
Once the space is set, work in logical sections and plan your exit so you don’t step on wet boards. Keep a steady stance and hold the wand with two hands. Run the wand along the grain so fibers lay flat. Feather strokes into dry areas to avoid visible cut lines.
- Apply deck cleaner evenly.
- Allow proper dwell time while keeping the surface wet.
- Rinse with a wide-angle tip at low pressure.
- Wash boards with the grain in even, overlapping passes.
- Rinse rails, posts, and stairs from top to bottom.
- Finish with a thorough rinse of the entire deck and adjacent surfaces.
Use a gentle overlap—about one-third of the spray width—to avoid missed strips and zebra lines. Begin moving the wand before you pull the trigger and keep it moving as you release the trigger to prevent start-stop marks. On stained decks you want to preserve, keep rinsing gentle to avoid stripping sound finish.
Manage runoff thoughtfully. Guide dirty water away from flower beds. Lift mats and let water escape. Rinse any splash on siding immediately. If suds start pooling, pause and flush with clean water to dilute.
Maintain distance, angle, and feathering with the grain
Hold the tip roughly 8–12 inches above the surface. Angle the spray 10–20 degrees off the board face. Feather lightly into the dry zone at the end of each pass. Long, steady strokes look uniform; short, choppy movements leave marks.
Rinse patterns, overlap control, and runoff management
Rinse rails and posts from the top down. On floor boards, rinse with the grain, following full board lengths where possible. Maintain a consistent one-third overlap and guide water toward a safe drainage area.
6. Post-wash care: neutralize, dry, and plan finishing
After alkaline cleaners, wood pH can be higher than ideal. A brightener with oxalic or citric acid helps return pH toward neutral and can reduce tannin and rust marks. Apply brightener per label, keep it wet during dwell, then rinse thoroughly.
Allow the deck to dry. Sun and breeze help; shade and cool air slow the process. Don’t rush to stain or seal—trapped moisture leads to cloudy results or early wear. Many pros use a moisture meter to assess dryness before finishing. If you don’t have one, waiting longer is safer.
Cleaning can raise grain slightly; that’s normal. Light sanding blends fuzz and readies the surface for an even coat of stain. Use a pole sander with fine grit. Vacuum or blow off dust, then wipe rails with a soft cloth. Now you’re prepared for finishing.
Choose a finish type matched to your conditions. A clear sealer highlights wood tone but usually needs more frequent maintenance. Semi-transparent stain adds color and UV protection while showing grain. A solid-color stain hides more imperfections but looks more like paint. Consider sun exposure, rainfall, and local conditions in Orange Park when selecting products.
pH balancing and brightening for wood after alkaline cleaners
Brightener serves two jobs: it restores appearance and helps bring pH back into range for adhesion. Apply with a pump sprayer after rinsing off the main cleaner, keep it wet during dwell, and rinse well so no residue affects stain.
Dry time, moisture testing, sanding, and timing for stain or sealer
Drying varies with sun, shade, and airflow; give extra time in cool or damp weather. Sand lightly to knock down raised fibers, remove dust, and apply finish in steady, mild weather for consistent cure.
7. Troubleshooting and long-term maintenance
Even careful work can show minor hiccups—light and dark bands (tiger striping) or tiny fiber hairs (fuzzing). Blend the area with gentle, even passes, let it dry, and sand lightly if needed.
Lap marks occur when one area dries while the next remains wet. Work smaller sections and keep edges damp as you proceed. On stained decks, visible lap lines in the coating may require sanding and a new coat to even the color.
Etching appears as grooves or rough patches from excessive force. Stop immediately, lower pressure, widen the tip, and blend from the undamaged side with soft, even passes. Deep etching may call for board replacement.
Map out a simple care routine. Sweep leaves often. Rinse spills soon. Do a light wash each season so soil doesn’t get ground in. In shady or lakeside spots around Orange Park, treat mildew early with a gentle cleaner. If your outdoor life is centered by the pool, consider Pool Deck Cleaning in Orange Park, FL to keep that surface safer under bare feet. Local businesses can keep walkways clean with Commercial Pressure Washing in Orange Park, FL.
Fixing lap marks, fuzzing, tiger striping, and etching
Blend stripes with even overlap passes and let dry. Sand light fuzz. Lower PSI and open the spray angle to avoid new marks. Replace boards if deep grooves remain after careful blending.
Seasonal cleaning schedule and preventative tips to keep decks cleaner longer
Set a spring and fall rinse routine. Trim vegetation away from rails to improve airflow. Use door mats but lift and dry them often. Keep gutters clear so splashback doesn’t stain perimeter boards.
Frequently Asked Questions
Q1: What nozzle is safest for cleaning a wood deck?
A wide-angle tip—25° or 40°—is typically safest for wood because it spreads the impact. Start with the 40° on railings and older boards, test in a small spot, and only adjust if needed. When learning how to pressure wash a deck, begin gentle and increase gradually.
Q2: Can pressure washing remove old deck stain?
Light rinsing won’t strip a solid, intact finish. It may lift loose or failing stain, but complete removal usually requires a stripper per label, followed by a rinse and brightener. After the wood dries, sand and refinish as needed.
Q3: How long should a deck dry before staining?
Dry time depends on sun, shade, and airflow. Allow additional time in cool or damp conditions. Many professionals verify dryness with a moisture meter; if you don’t have one, waiting longer and sanding lightly before coating supports a smooth result.
Q4: Is soft washing better for composite decking?
Soft washing is often the safer first step for composite. Use low pressure with a compatible cleaner to break down grime, then rinse with a wide-angle tip. Avoid hot water or narrow nozzles unless the manufacturer approves them, and always test a small area first.
Q5: How do I choose a deck cleaning service near me?
Look for a local team with strong reviews, clear methods, and safe practices. Search for Deck Cleaning Services in Orange Park, FL and read recent feedback. Ask about deck-safe detergents, typical pressure ranges, test spots on inconspicuous areas, plant and window protection, and steps to prevent etching and lap marks.
Key takeaways
- Start gentle with a 25°–40° tip, low PSI, steady distance, and smooth, with-the-grain passes.
- Let cleaners work first; rinse with care to protect wood and existing finish.
- Pre-wet, test a hidden spot, and keep detergents wet during dwell.
- Brighten (if needed), allow full dry time, and sand light fuzz before finishing.
- Maintain with seasonal rinses and early treatment of mildew to keep deep cleanings simpler.
Conclusion
A careful plan keeps decks safe, clean, and ready for weekends outdoors. Pressure Washing Orange Park works across Orange Park every week, helping homes look their best with thoughtful, low-risk cleaning. When a space needs more attention, rely on Deck Cleaning Services in Orange Park, FL or learn more on About Our Pressure Washing Team in Orange Park, FL. Contact us.
Pressure Washing Orange Park is proud to serve Orange Park and nearby neighborhoods—from Doctors Lake and Bellair-Meadowbrook Terrace to Fleming Island, Middleburg, Lakeside, Green Cove Springs, and surrounding communities. Ask about Pool Deck Cleaning in Orange Park, FL to keep high-traffic wet areas comfortable under bare feet. For larger properties, Commercial Pressure Washing in Orange Park, FL can help keep public walkways clear and inviting.
If you’re not sure exactly what you’re dealing with on your deck, Pressure Washing Orange Park can assess conditions and recommend a safe plan before it turns into a bigger project.
If you are not sure which of these you are dealing with, it is worth having someone look at it before it turns into a bigger job. Get in touch with Pressure Washing Orange Park today and we will tell you where you stand.